Do you have a favourite cartoon heroine, hero, dragon or squirrel? Do you also love bead crafts, and would like to combine the two? Then this is the guide for you! In a few easy steps, we will take you through PhotoPearls’ new software features adapted for illustrations.

To our help, we have this excited squirrel, but you can choose any image you want. Just make sure that your image is not protected by copyright. You can find suggestions for free stock photos here: “5 websites where you can download free pictures for PhotoPearls”
If you don’t have PhotoPearls installed, don’t worry. You can download and test the programme out for free for six days using this link, or use the web application my.photopearls.com.
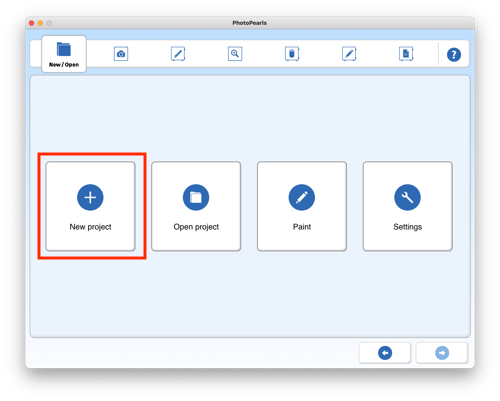
Open the PhotoPearls software and click the “New project” button.
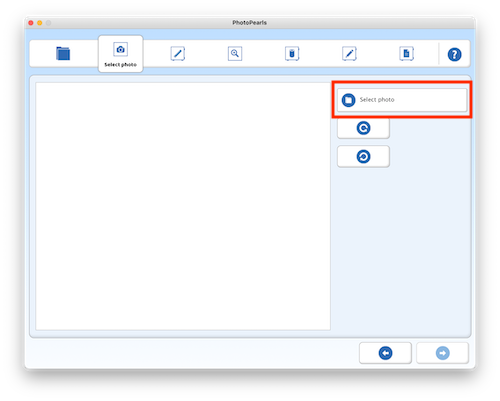
Click the “Select photo” button to open your illustration.
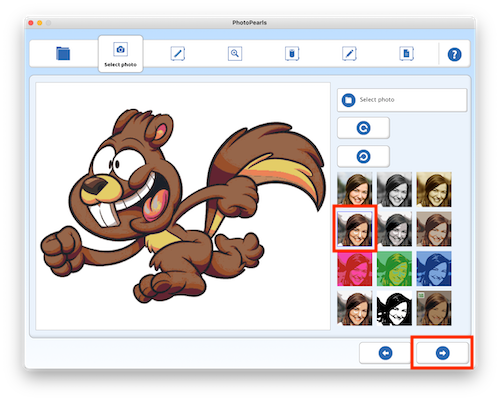
Now you will be able to see your picture in the programme. This is where the magic happens! Choose filter number 4 (as indicated in the image above). Your cartoon will now be prepped for its bead transformation.
Next, click on the arrow in the bottom right corner to proceed.
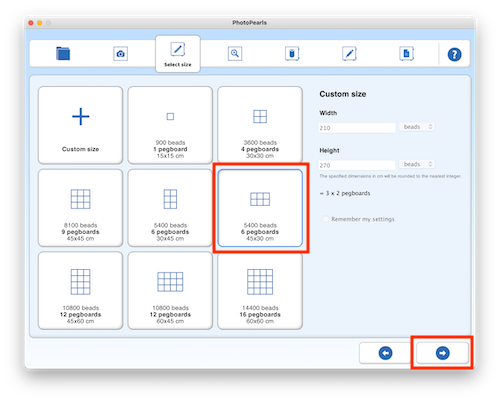
Before creating the pattern, you need to decide how big it should be. If you have a photo frame you intend to use, check how large this is and pick the project size accordingly. We decided on six pegboards for our squirrel, but, of course, you need to adapt this to fit your image.
Click the bottom right arrow to continue.
Doing great so far! Depending on the proportions of your original image, you may need to crop it to make it fit into your chosen frame. Zoom in and out of the picture using the crop size bar. After doing this, proceed to the next step: Pearlify.
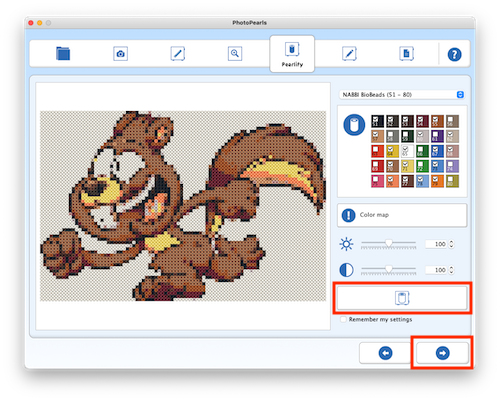
Yaay, exciting! Click the big bead button to get your image as a bead pattern. Then, click your way to the next step to finetune the pattern.
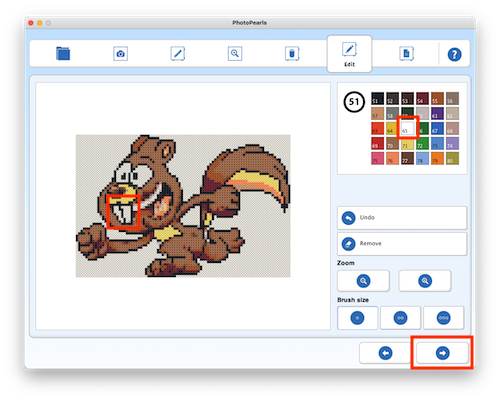
Here, you can make manual edits to your pattern, in case something needs to be adjusted. Choose a brush size (one, two, or three beads wide), dip the brush into the colour you want from the palette, and paint over the bead that you want to change in the pattern. For our part, we changed the black bead between our squirrel’s teeth and added a black bead to its right pupil. For more help with editing in PhotoPearls, please take a look at our editing guide.
Once you’re happy with your masterpiece, make your way to the print and save stage.
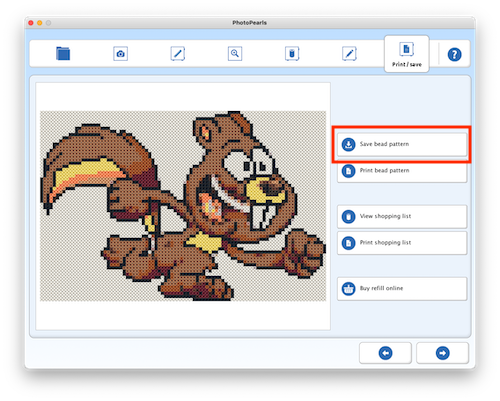
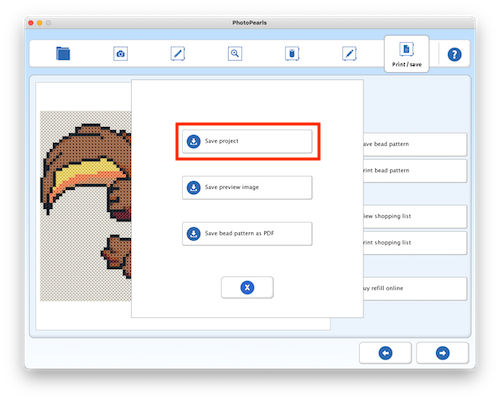
Time to save and print your pattern! First, save your bead project as a .nabx file. This will allow you to re-open and change your pattern, if you’d like. You’ll do this by clicking the button “Save bead pattern” and then “Save project” in the pop-up window.
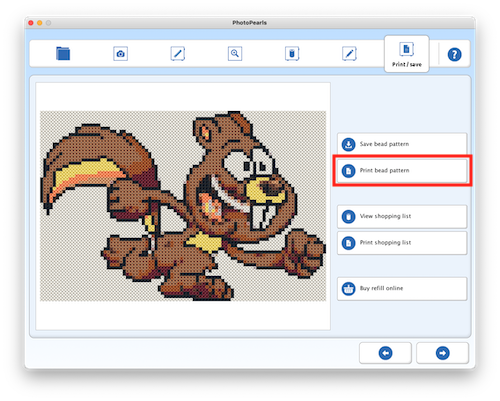
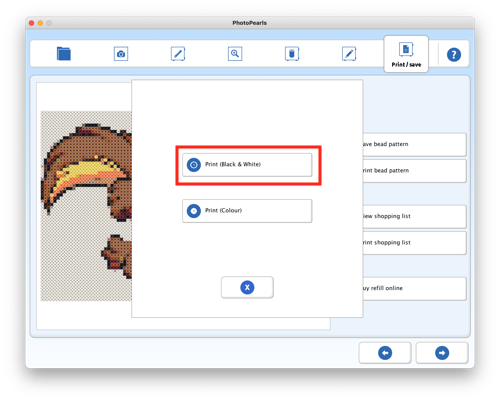
Next, print your pattern. Click “Print bead pattern” and choose between a black and white or a colour print. Psst! Remember to click “Print actual size” in the printer’s options, if this comes up.
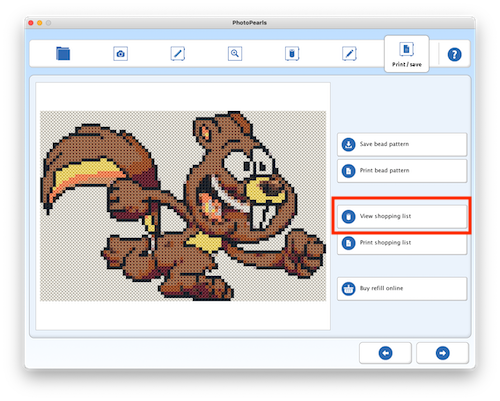
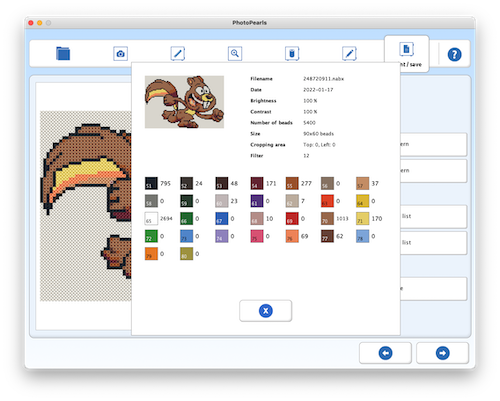
To finish off, you can also choose to show or print your shopping list. The shopping list gives you the details of your pattern, including which colours you’ll need and how many of each colour.
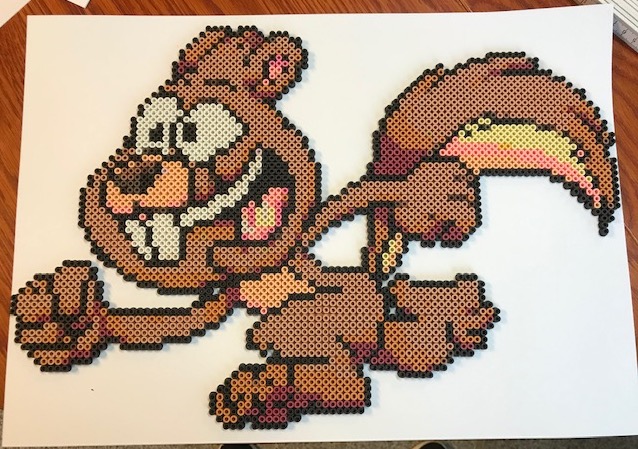
Now, you should be all set to start putting the beads on the pegboards. Good luck!!
If you want more tips and tricks, please take a look at our other guides and help articles.
Before you go – please don’t forget to share your crafts with us on social media! We’re PhotoPearls on Facebook and photopearls on Instagram. We also have tutorials on our YouTube account PhotoPearls, if you need further help.