A Beginner’s Guide on how to create bead-by-number patterns
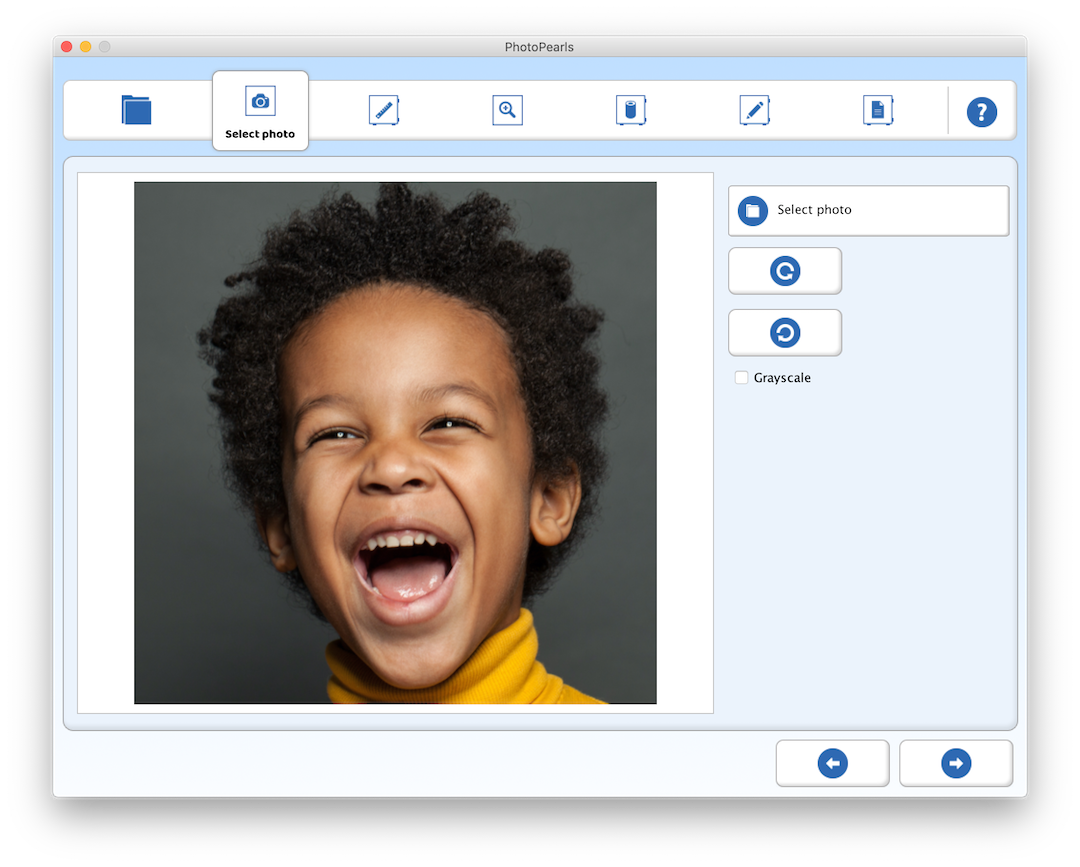
Start by selecting a photo for your project.


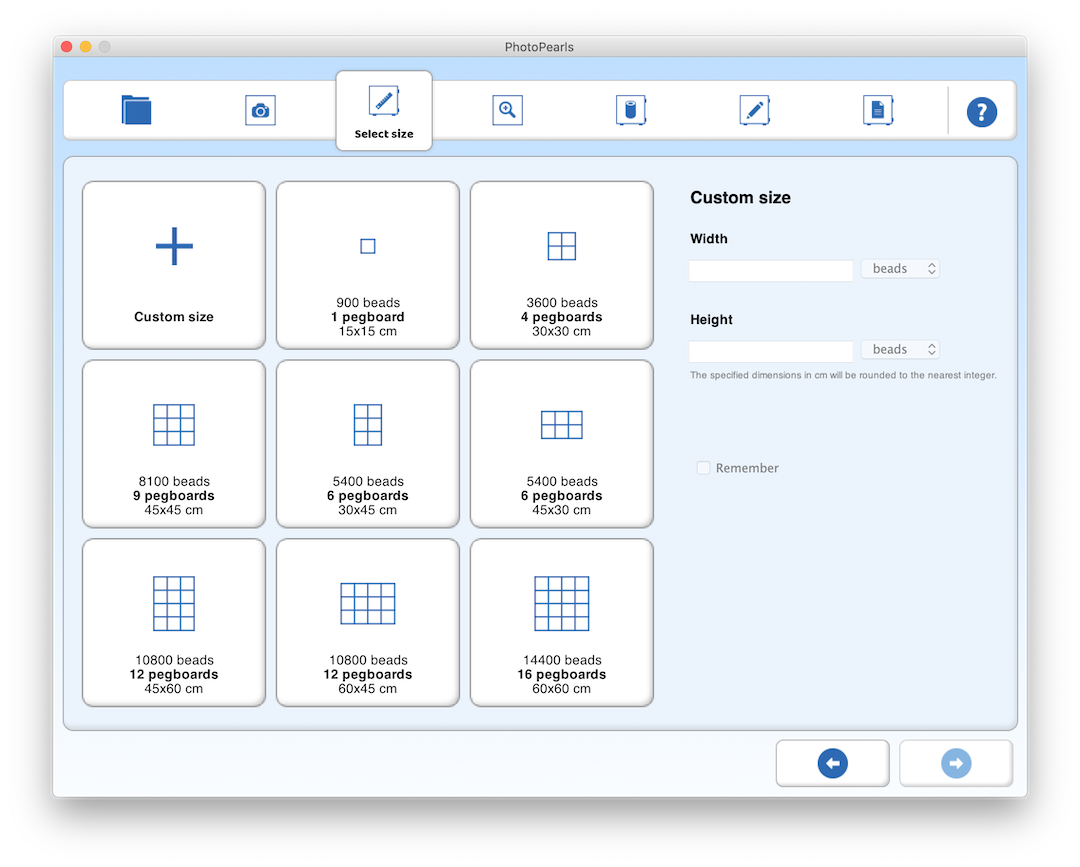
Choose the size of your project.
Select the size of your project from the list of preset sizes or change the text fields “Width” and “Height” to the desired size, calculated in number of beads or centimeters/inch.
Centimeters/inch are rounded to the nearest integer.
How to convert centimeters to number of beads: cm * 2 = number of beads.
Example: 15 cm * 2 = 30 beads
Crop to cut out any unwanted parts of the photo.
Recommended doing for facial portraits if the project is less than six pegboards.
You can also move the box around by clicking anywhere inside of it and then dragging your cursor to move it around.

Click the Pearlify button to convert your selected photo into the pattern.
To improve the pattern, you can add or remove bead colors and change the brightness and contrast.
Tip:
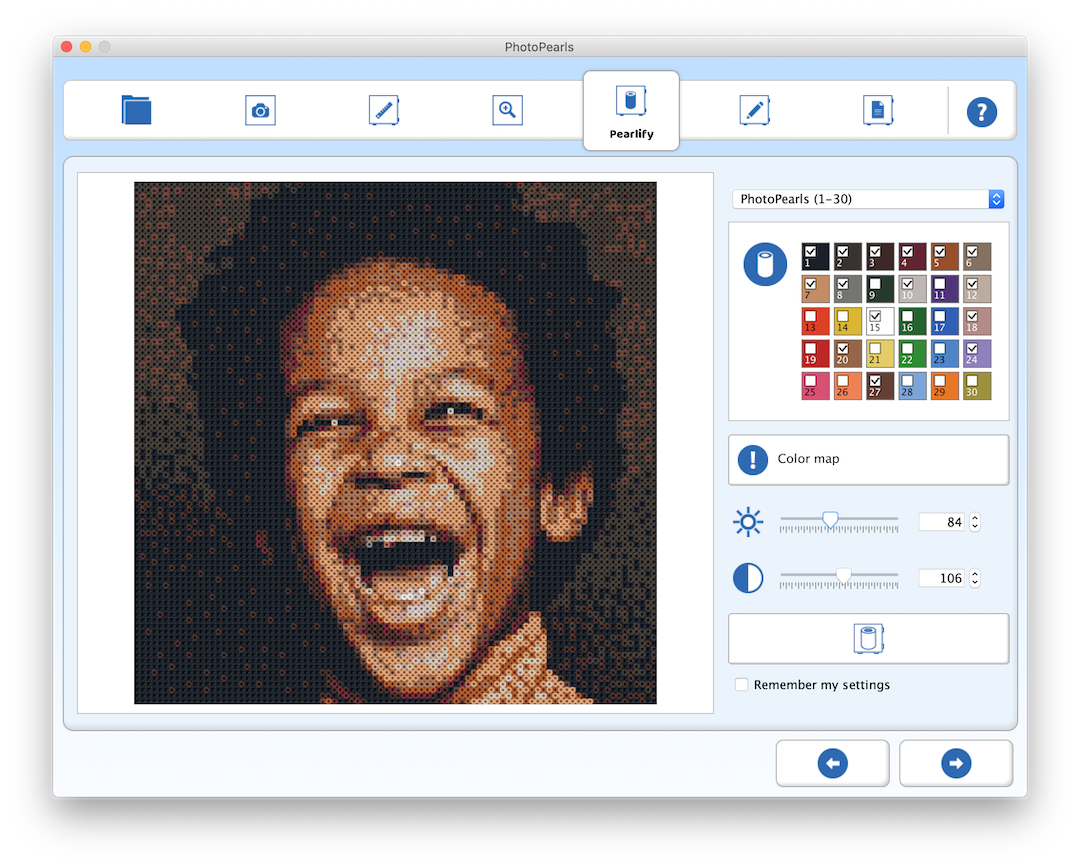
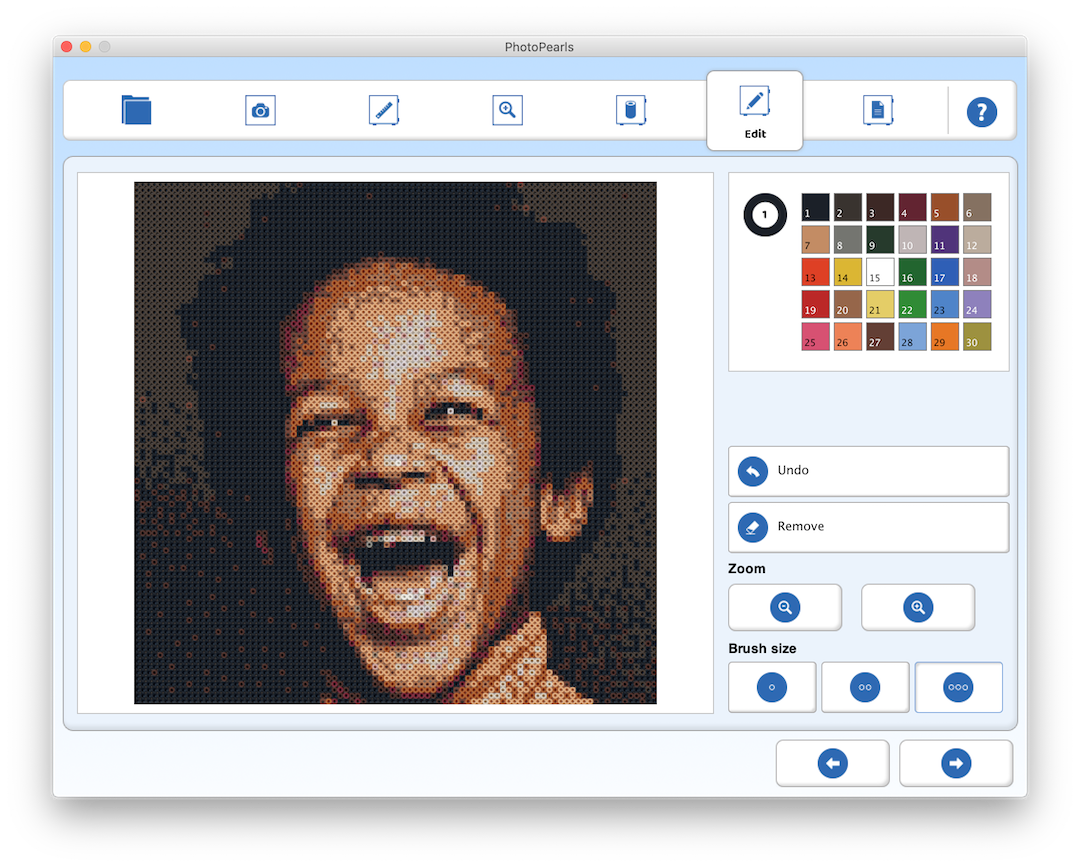
In edit mode, you can use the brush tool to draw freely or to retouch the pattern. With the eraser, you can remove beads completely from the pattern.
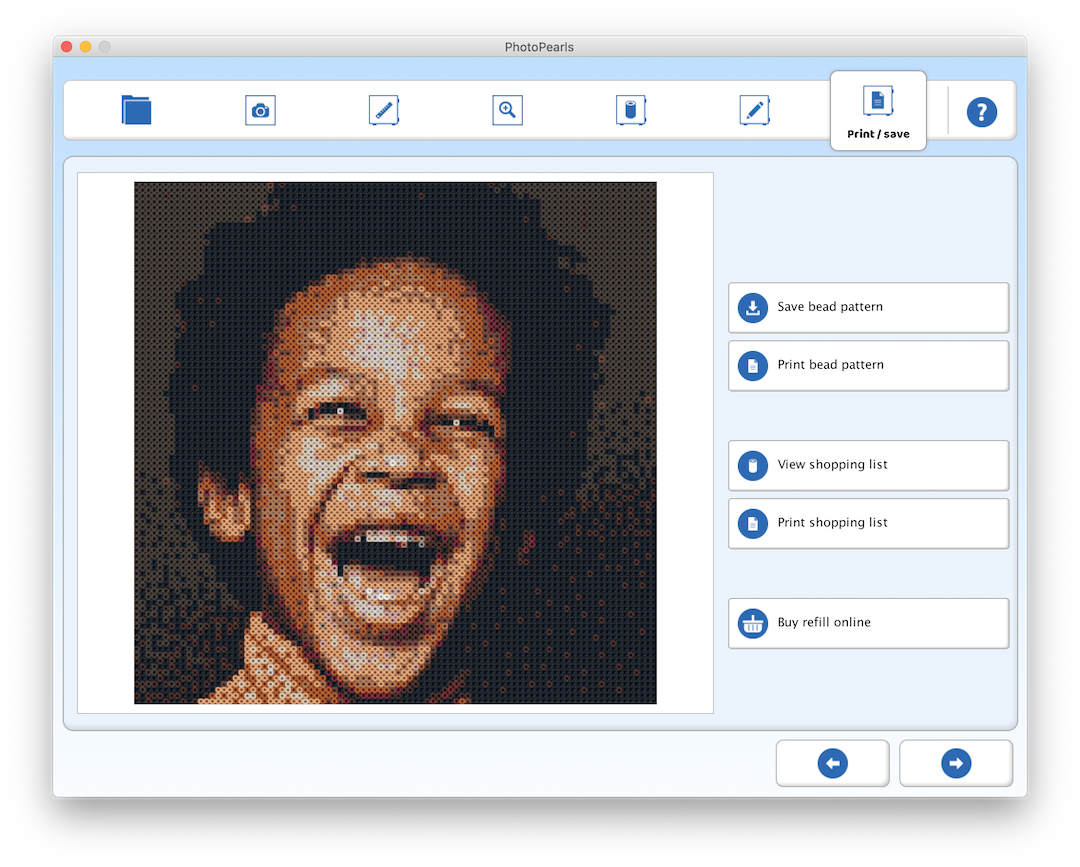
When you´re finished editing, click the “Save bead pattern” button to save your changes.
Click on the button “Print bead pattern” to print your pattern, you can choose between black and white or color printing.
Click the “Print Shopping List” button to print the shopping list for your pattern.