How to assemble your PhotoPearls bead project with double-sided adhesive sheets.
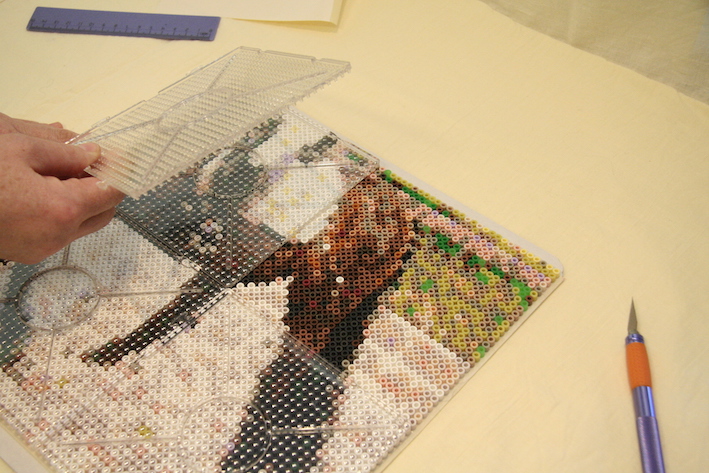
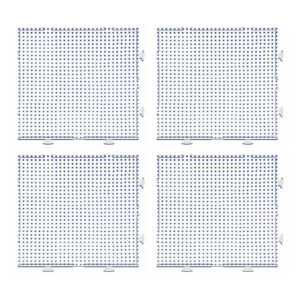
Place the pegboard over the printout.
Important! The Pegboard “knobs” must point to the right and down.
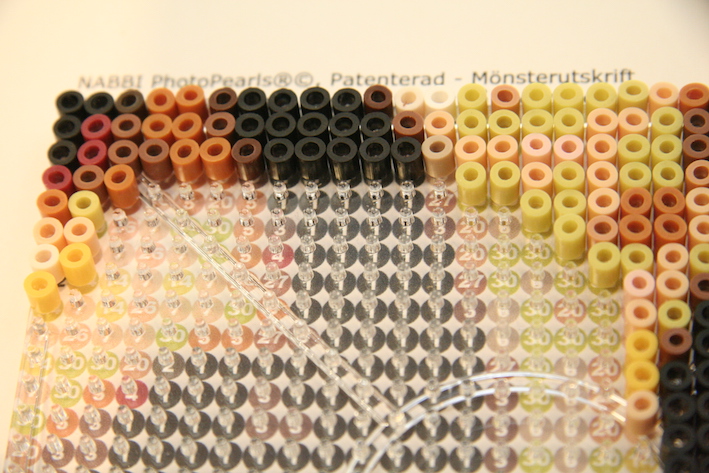
Place the beads on the pegboard according to the bead-by-number pattern.
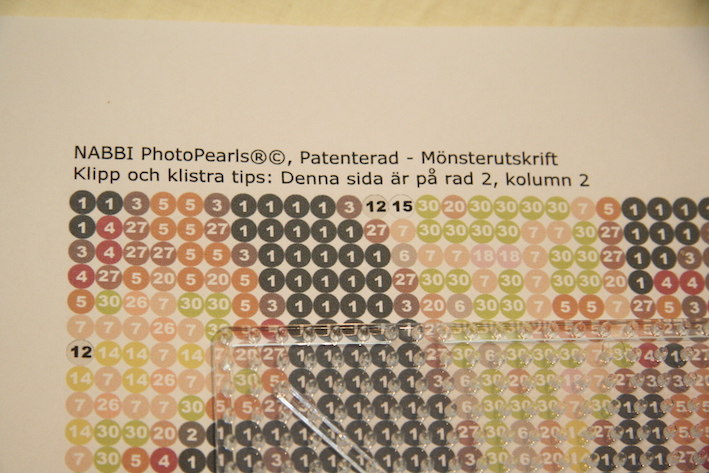
The numbers on the pattern correspond to PhotoPearls bead colors.
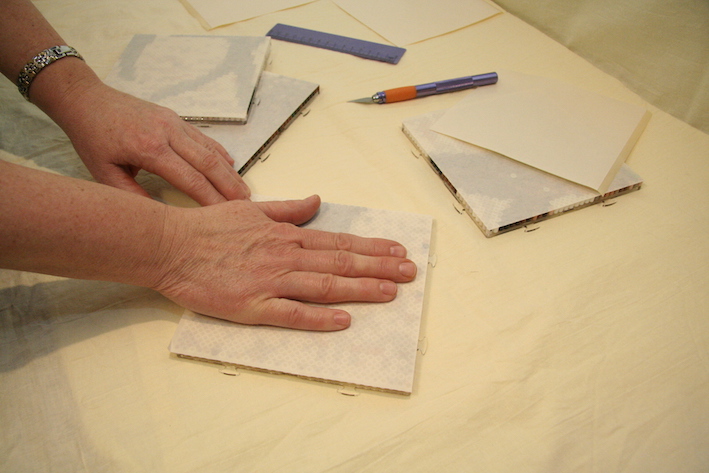
Glue all pegboards together in the same way.
Build up your project by connecting all finished pegboards.
Start with pegboard row 1, column 1.
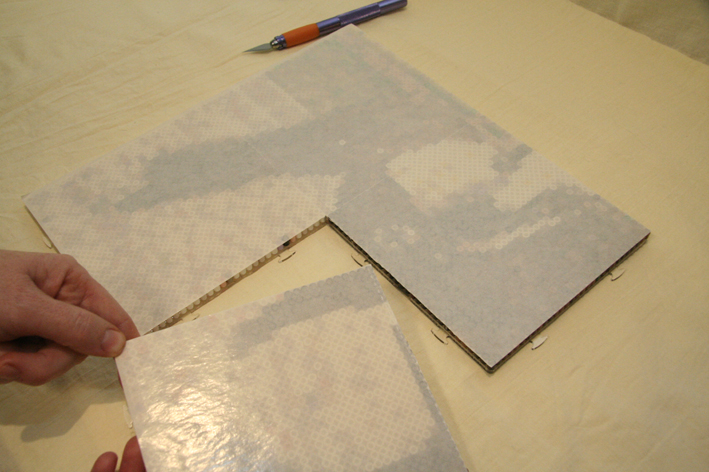
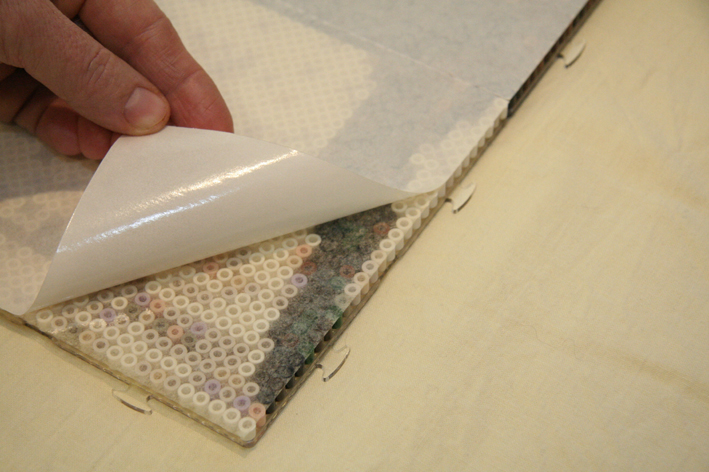
Now you can remove the silicone paper protecting the back of the adhesive. If you have a large project, it’s best to start detaching from the center, so nothing accidentally sticks to the adhesive sheets.
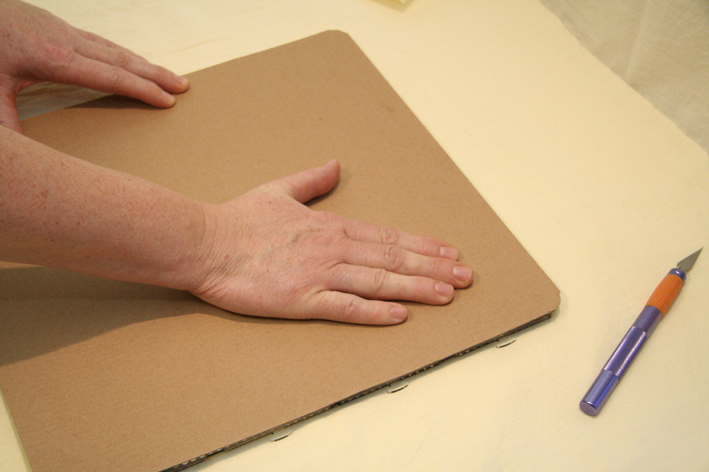
When the entire surface is cleared, you can stick the backing piece to the beads. Press with a gentle hand in a circular motion over backing piece.
Now turn the whole piece over and remove one pegboard at a time. Should any bead fall out, it can easily be replaced by using tweezers.
Congratulations, you are now done with your bead project!